
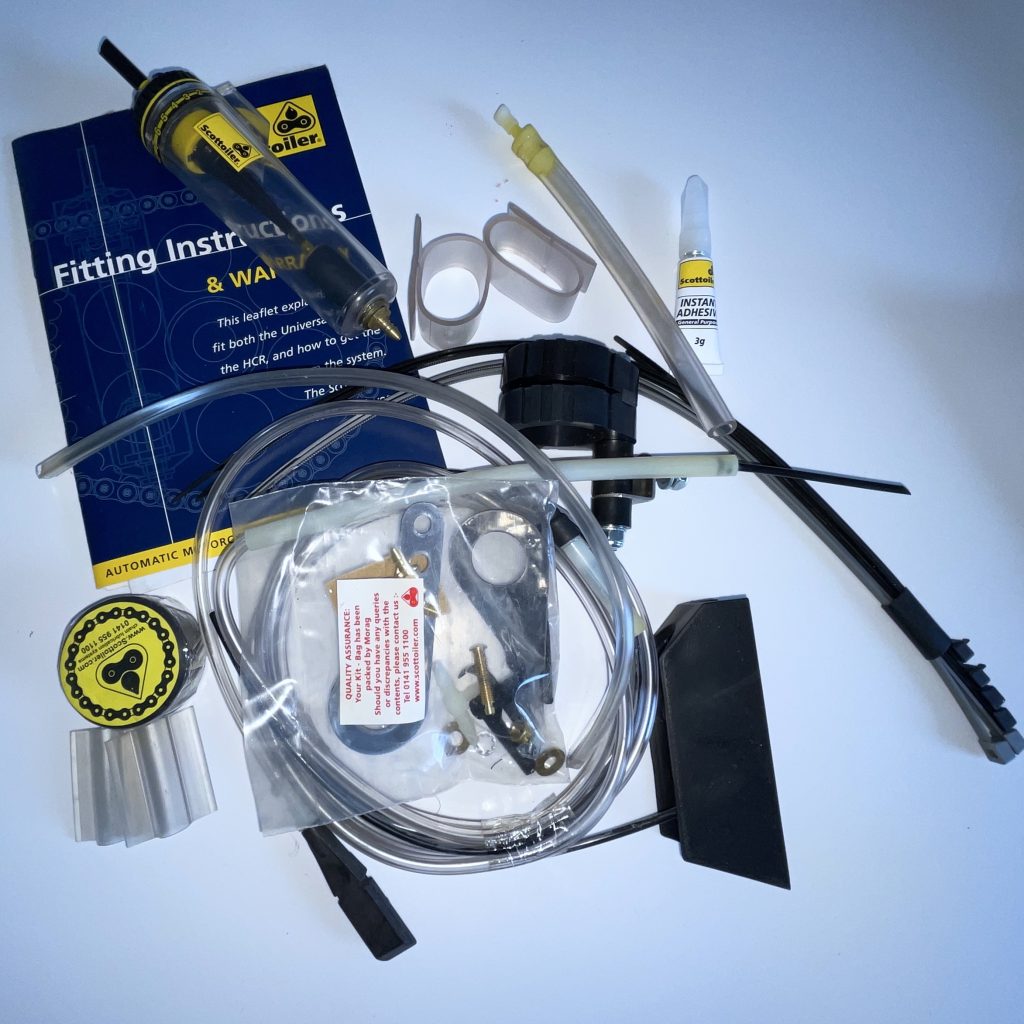
A few years ago my wife was kind enough to buy me a Scottoiler, the vacuum operated type. At last, I have an opportunity to use it! So, having reviewed some Youtube videos on the subject (especially this one – How To… (thank you, Dave)) and having fitted a centre stand (see my previous mod page), I set to it.
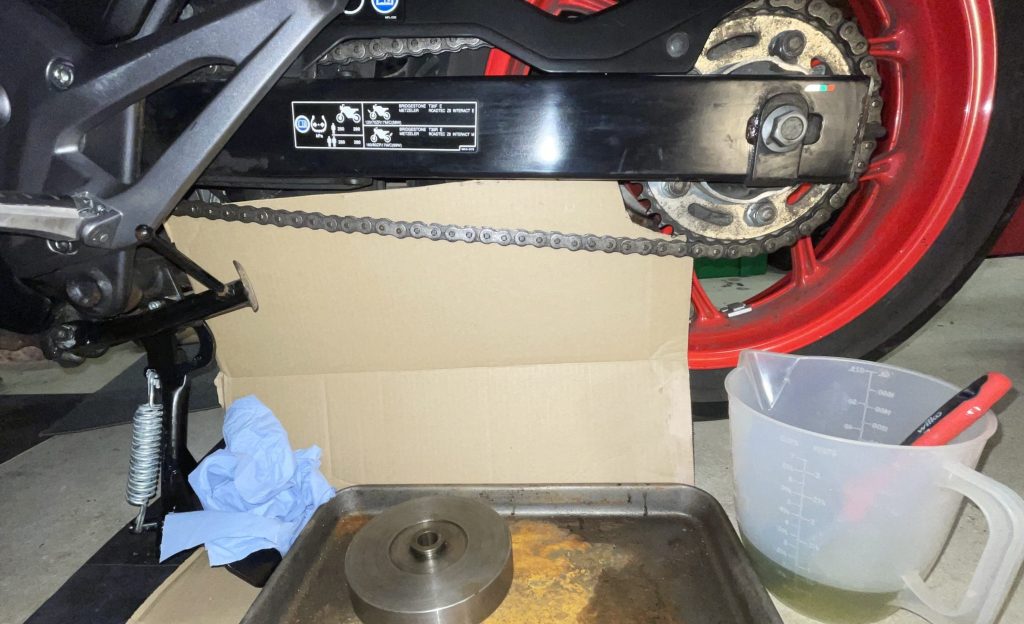
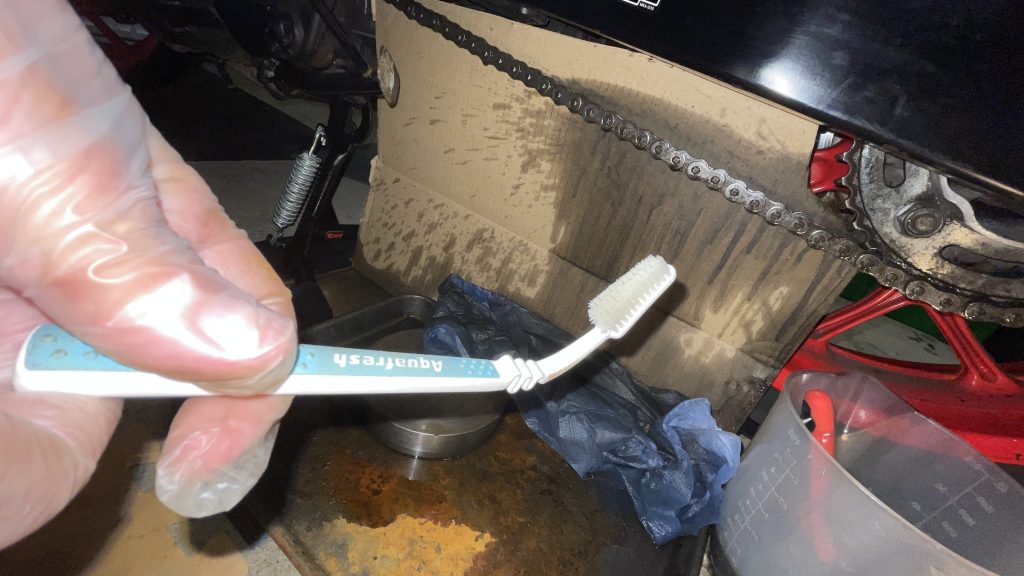
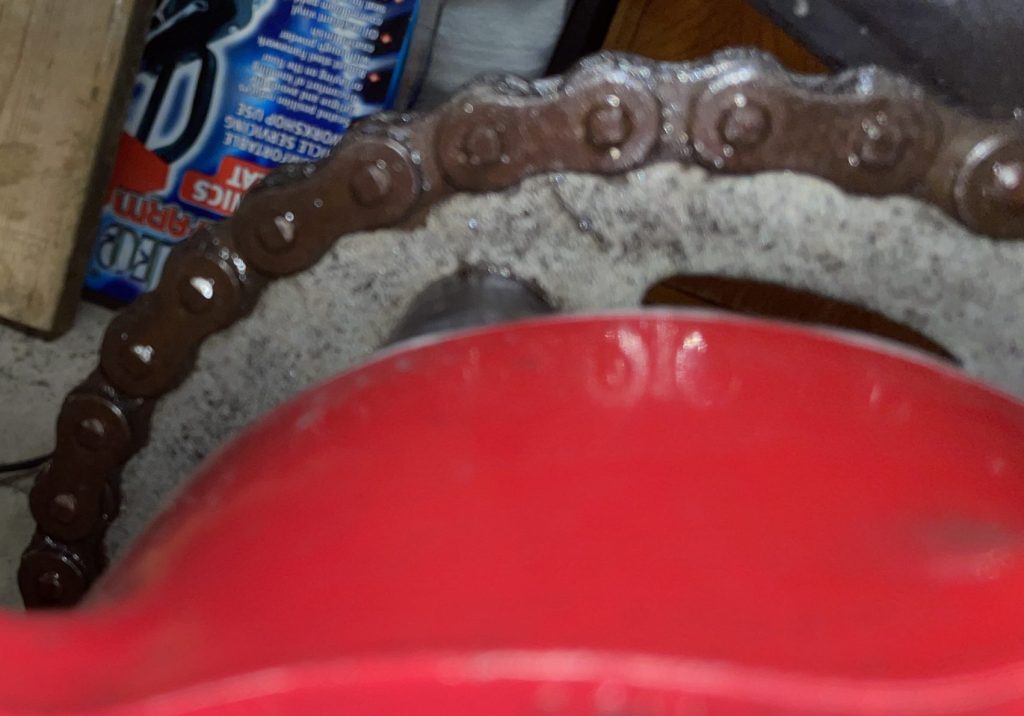
First job was to clean the chain. An unwelcome, but necessary job else the existing muck will just get flung off when the oiler starts oiling – it’s classed as a cleaner/oiler. I decided to use white spirit as it’s all I had, most people buy paraffin (kerosene) for this job, and I’ll let you know if it has any long term bad effects (like damaging the O-ring seals). I set up a cardboard wheel splash shield, weighed down to keep it in place, plus a baking tray as a catch tray, and set about washing it clean. I did the back of the chain by using a heat-bent old toothbrush. I used a hot air gun to get it hot enough to bend. Thinking back I should have made some sort of chain indexer (maybe even just a bit of string tied to a link) as it was hard to know how much of the chain I had done. In the end I rotated the wheel several times and brushed each link several times just to be sure. Please, never ever use the engine to turn the rear wheel for these sort of jobs – a friend of mine lost two of her fingers doing that…
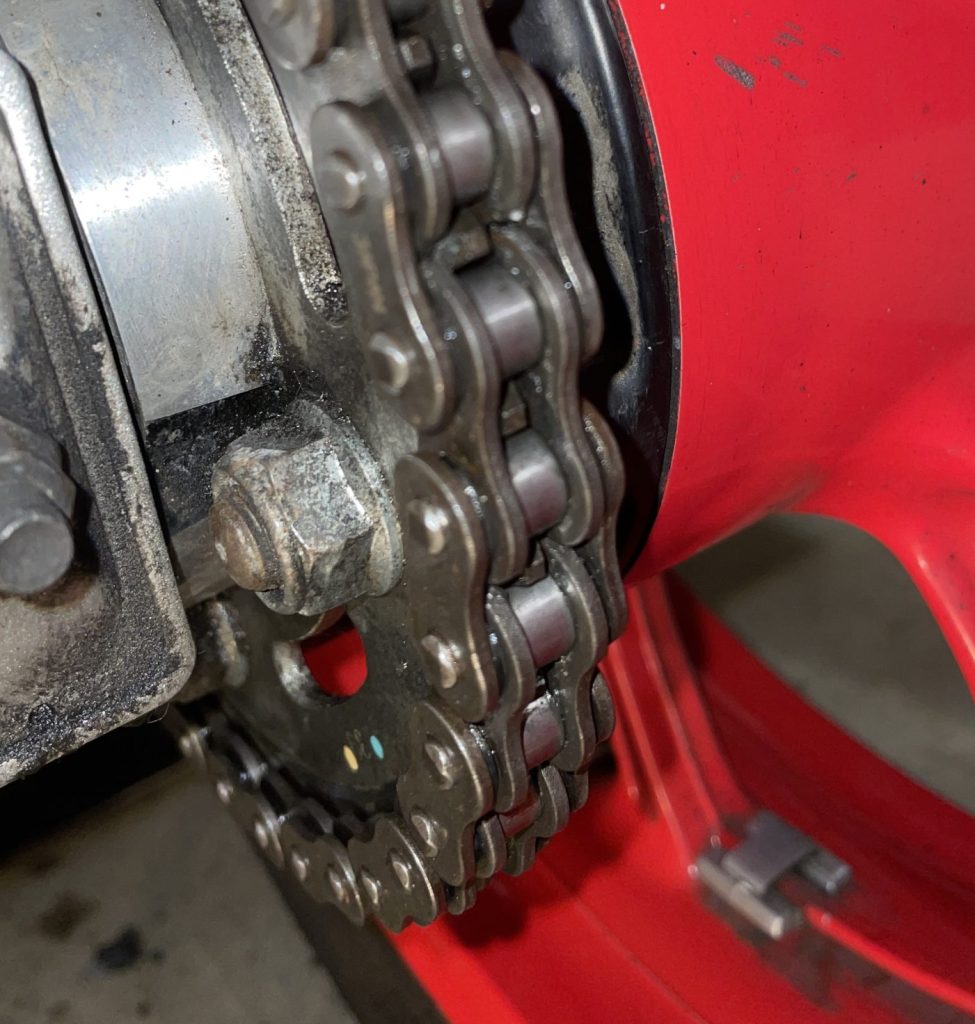
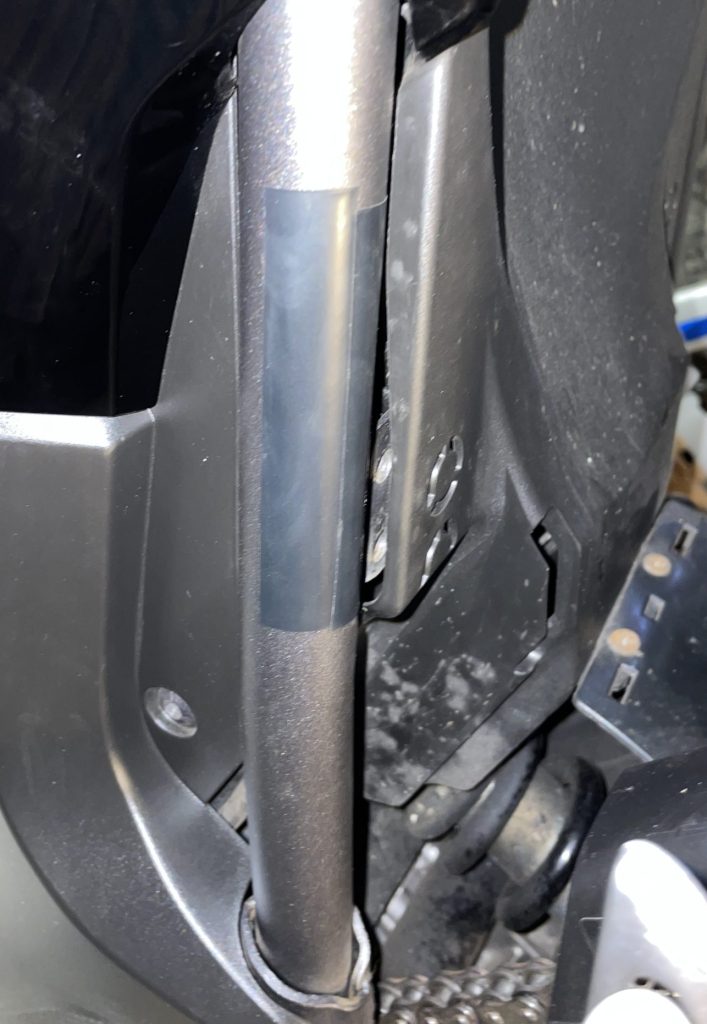
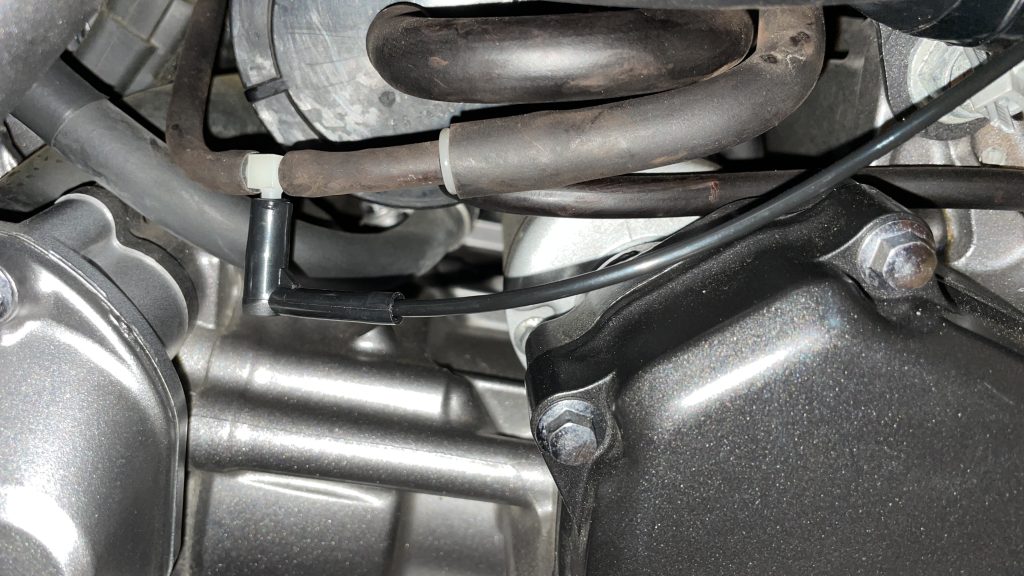
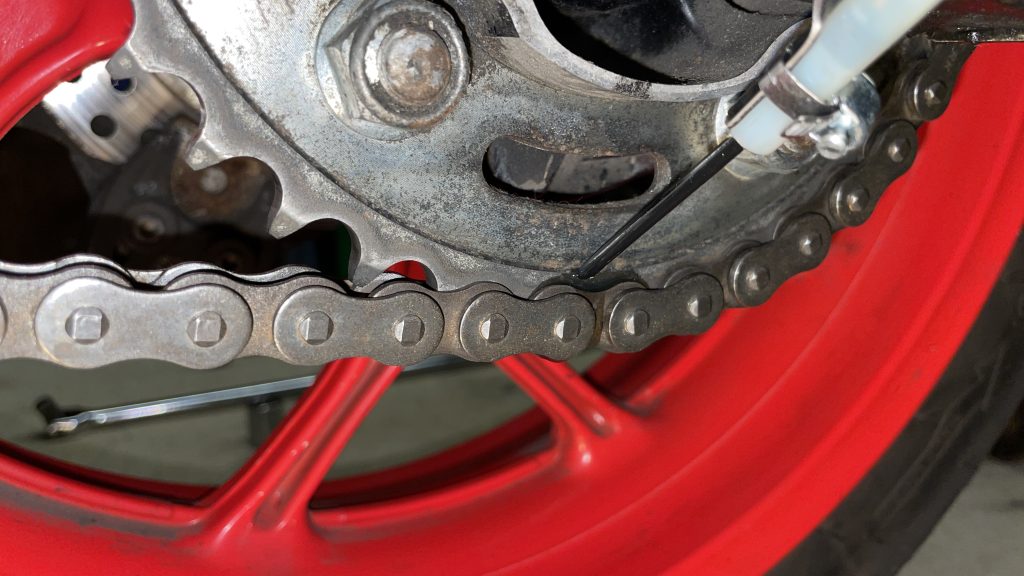
I noticed that the axle bolt and nut on my setup were not as per the videos and Scottoiler images, so I turned mine round to suit. That was a mistake and I recommend keeping the axle in the standard way round with the nut on the brake side. This will still mean that the axle has to come out, but just re-insert it the same way, but with the drip tube guide in place as per my photos, gap side out.
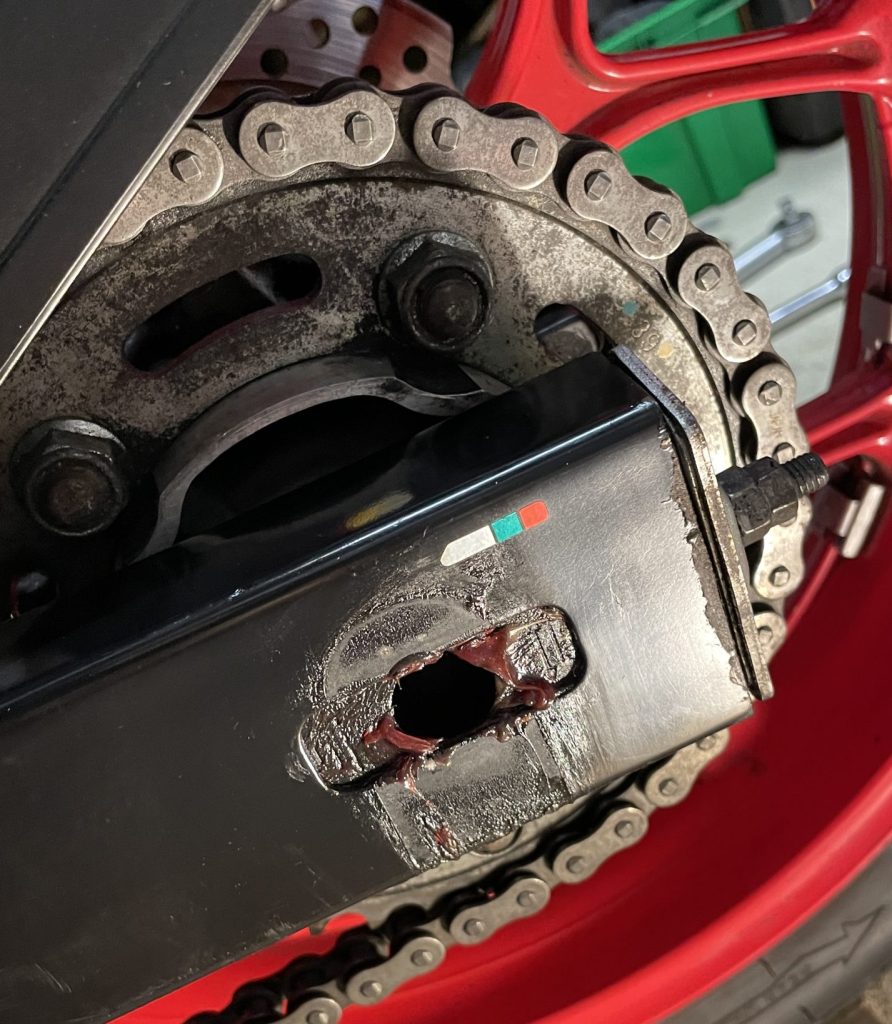
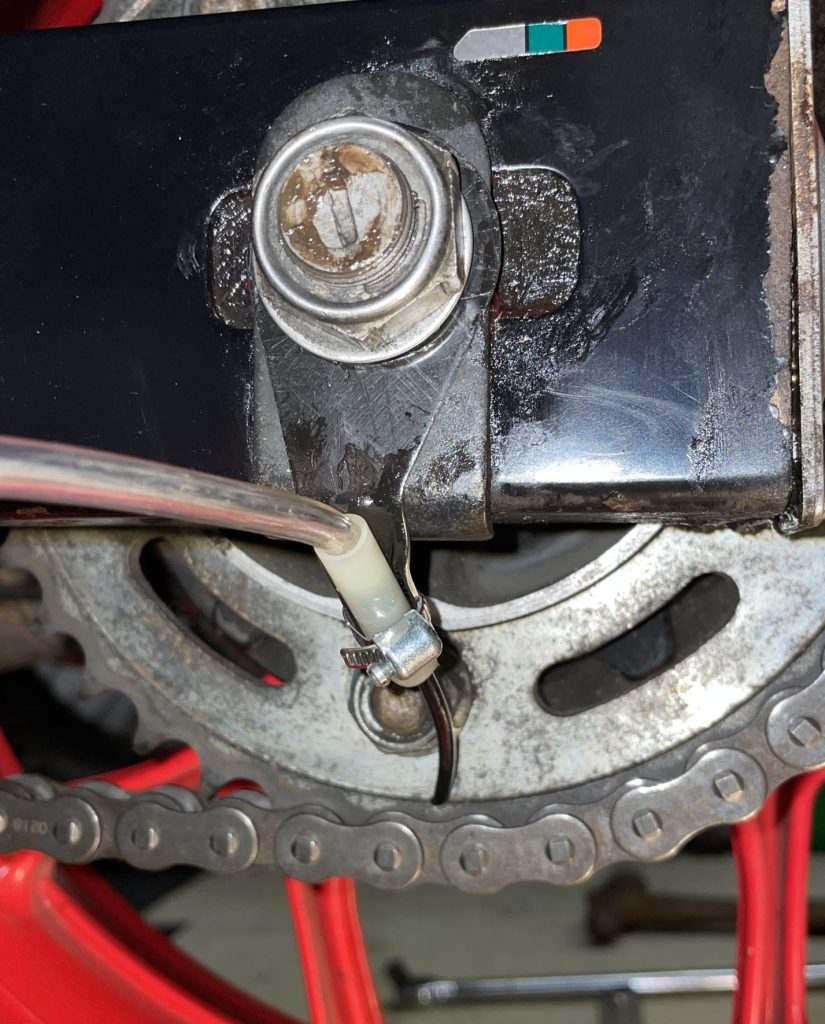
The drip tube cover sleeve (white) was cut short to suit the bend (I think mine is a little too short) and the black drip tube also cut to the right length, just enough to touch the sprocket just above the chain, with the angled cut facing out. When all in place (and do check clearances by rotating the wheel) tighten up the axle and the hose clip holding the tube. (NB that if you do it the way as shown here, as you tighten the nut the tube guide rotates with the nut on final tightening and hands alone can’t stop it turning, especially at 72lbft.)
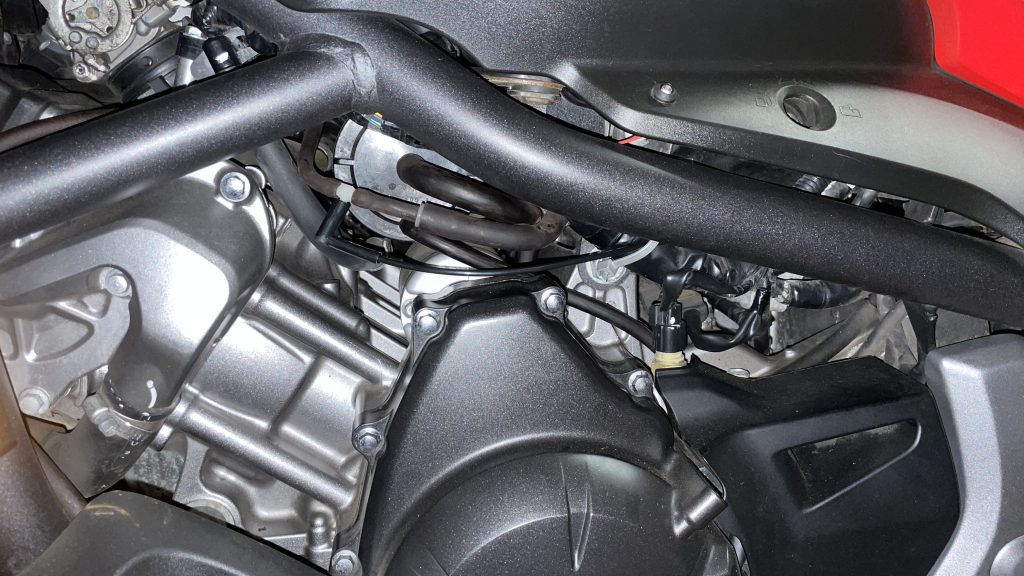
Then I focussed on the vacuum tube, first checking the routing from the engine to the proposed tank location. This could determine the tank location, so I did this first.
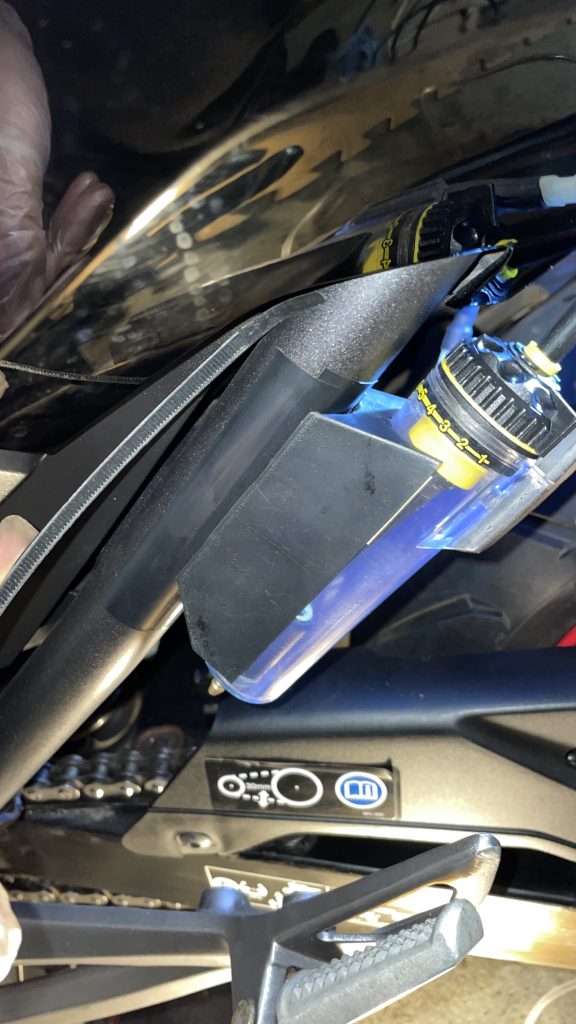
There is some tightness between body panels and frame which restrict tube routing, but it is possible. Once I was happy with that I test mounted the tank and then protected the frame where the special mount adapter would be with insulation tape.
I didn’t cable tie it in place yet as I wanted flexibility during final pipe fitting. Now came the point of no return, cutting into the engine’s vacuum pipe…
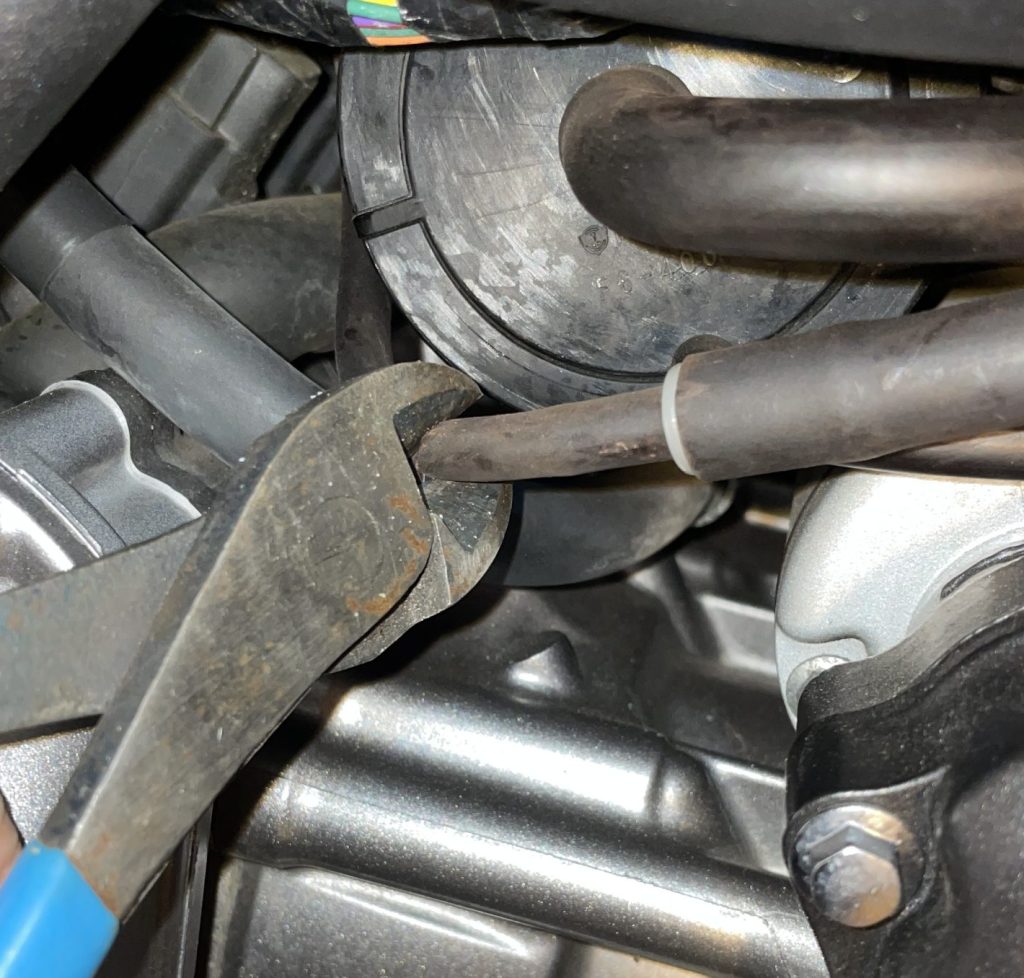
And installing the T-piece…
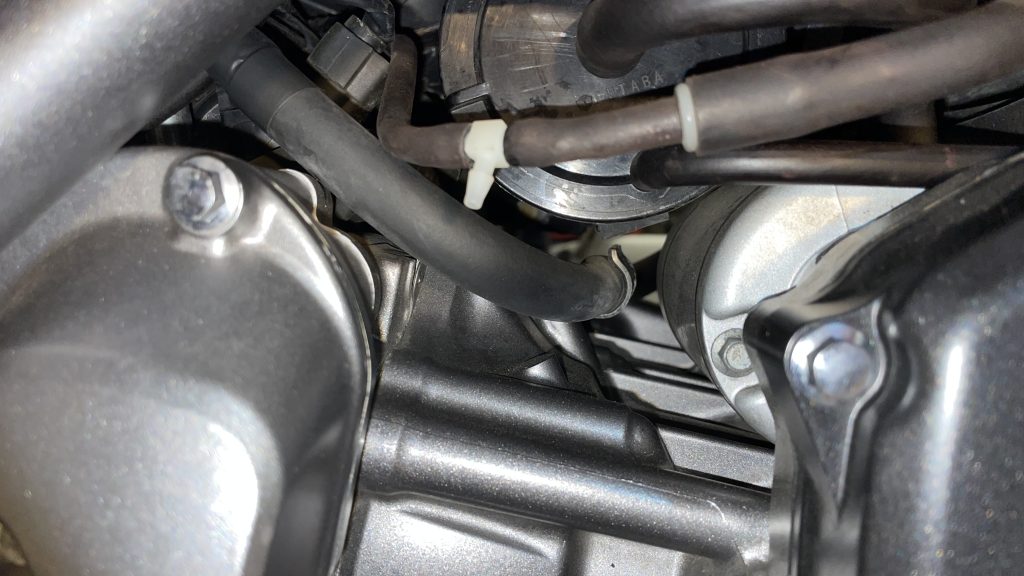
Then adding the Scottoiler vacuum tube connector…
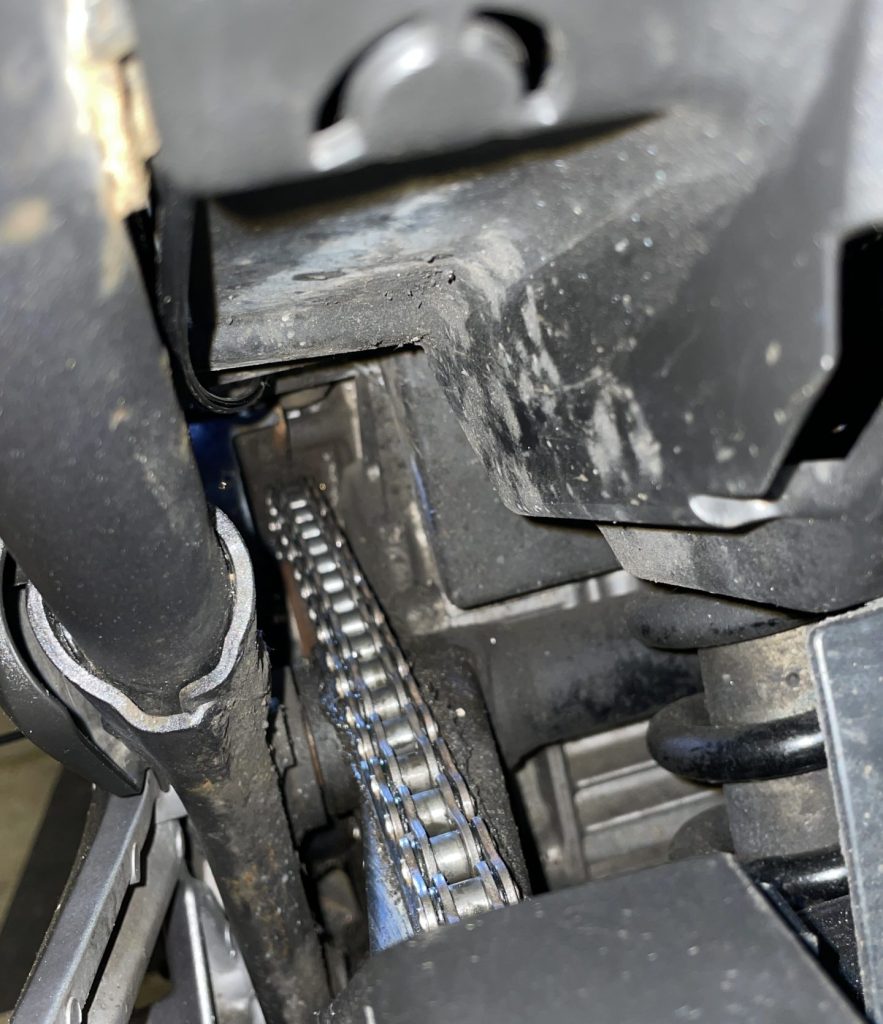
Now it was ‘just’ a case of routing this black vacuum pipe and the oil dispensing pipe up to the oil tank.
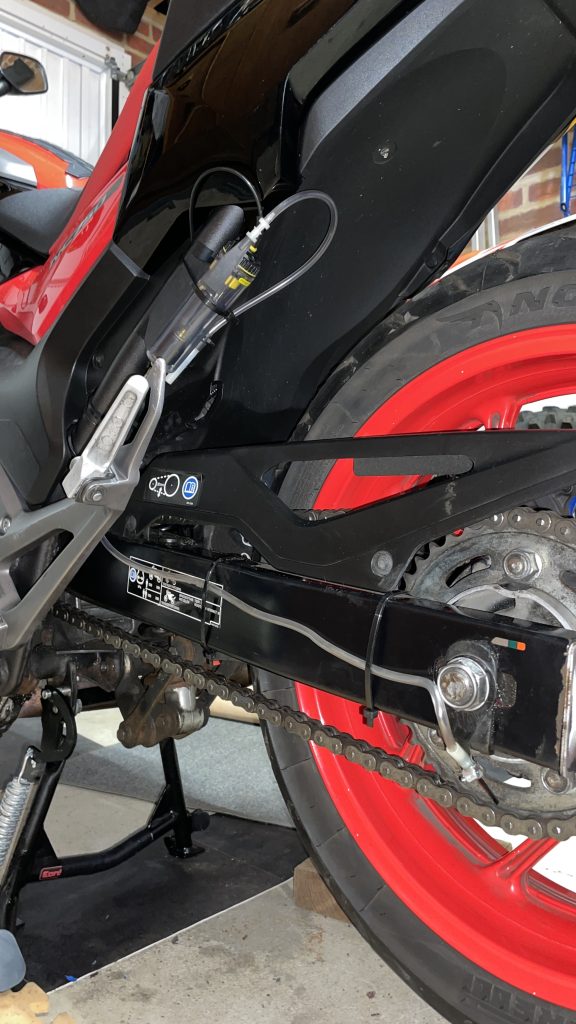
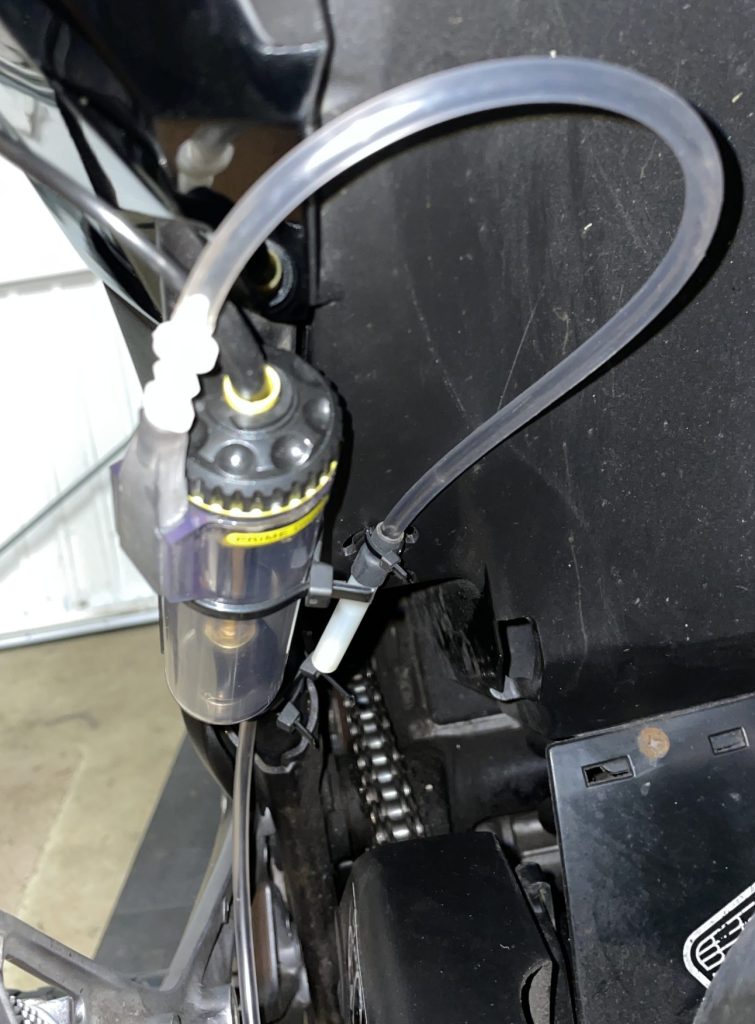
The oil breather pipe and main tank were now cable tied into position. The oil tank was filled with blue scottoil oil, then the system primed – that when the oil bottle is used to pressurise the tank via the breather adapter and force the oil down the pipe to the drip tube. That took about two minutes. Then the tank is refilled through the breather adapter hole in the side of the tank, and breather plug/adapter replaced. Now it was just a case of doing a first calibration of the system, aiming for 1 to 2 drips per minute out of the drip tube
I’m still in the process of getting that right as it’s not good to run the engine in the garage, and, although I tried using a syringe and tube to emulate the engine vacuum, I wasn’t sure that was good enough. Anyway, the first run has shown that it’s working, but I suspect it’s too much at the moment, but I’m sure I’ll get it right soon enough. And, fingers crossed, it’ll actually do a good job in keeping the chain lubricated!
Well, after a few trips I’ve managed to get the drip rate down from ’empty in a hour’ to one drop per minute, so that’s where ill leave it for now. If I have any other issues I’ll note them here.
Next, installing fork protectors…